How Can We Help?
Add your Google Ads Tag ID
To insert the Google Ads Tag on your site you just need to add your AW ID (AW-1234567890) in the dedicated field.
Important: You don’t need the full code, just the AW ID.
You will find this option on the plugin General tab. Remember to click the “Save Settings” button once you’re done.
How to generate your Google Ads Tag ID
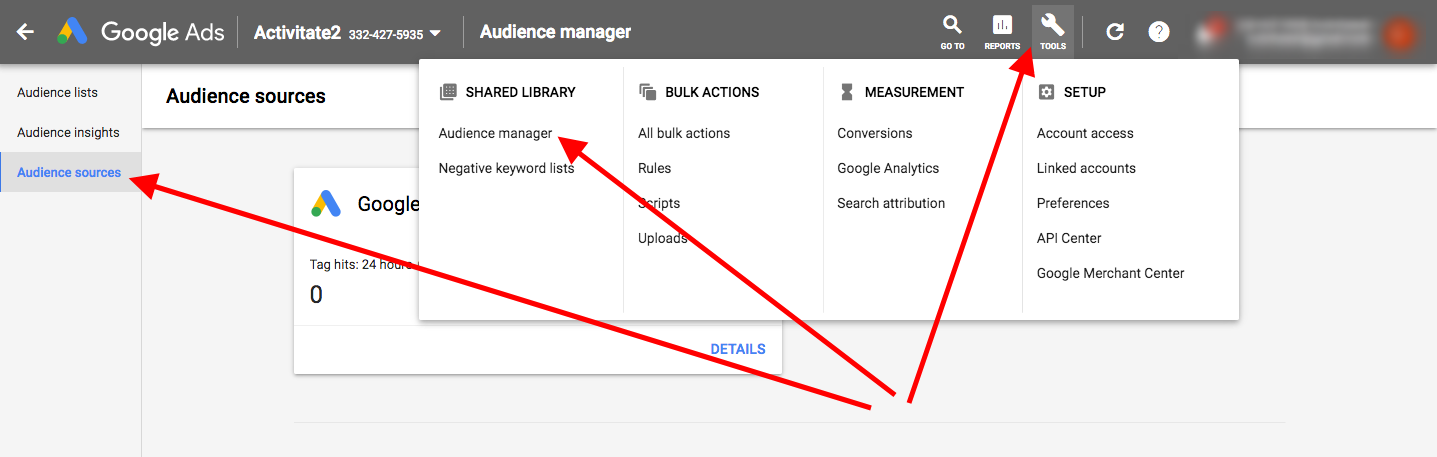
Open your Google Ads Account and click on the TOOLS link in the top menu. Under SHARED LIBRARY click on Audience Manager and on Audience sources.
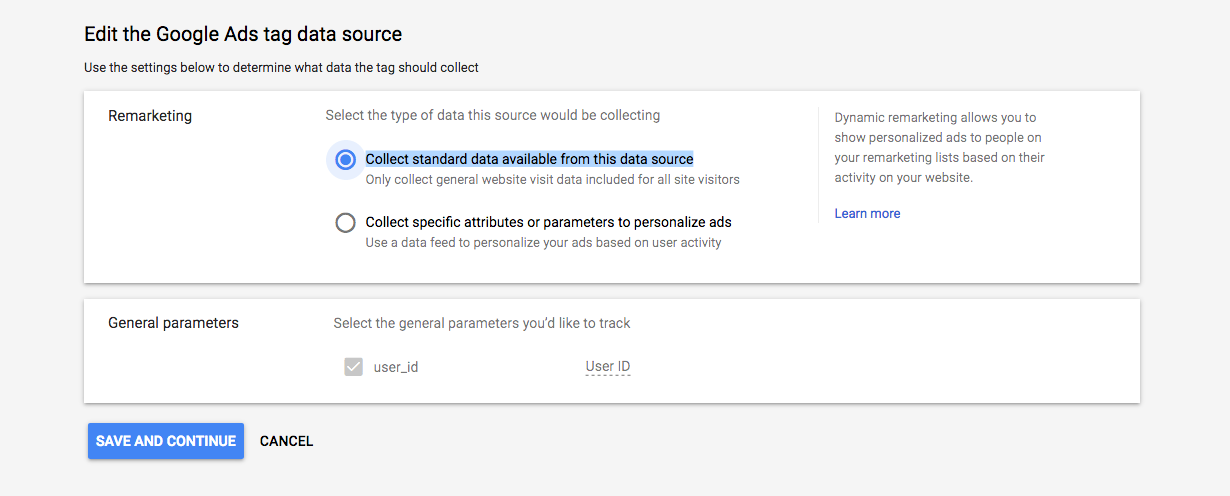
Select “Google Ads Tag” and “Collect standard data available from this data source” and click SAVE AND CONTINUE:
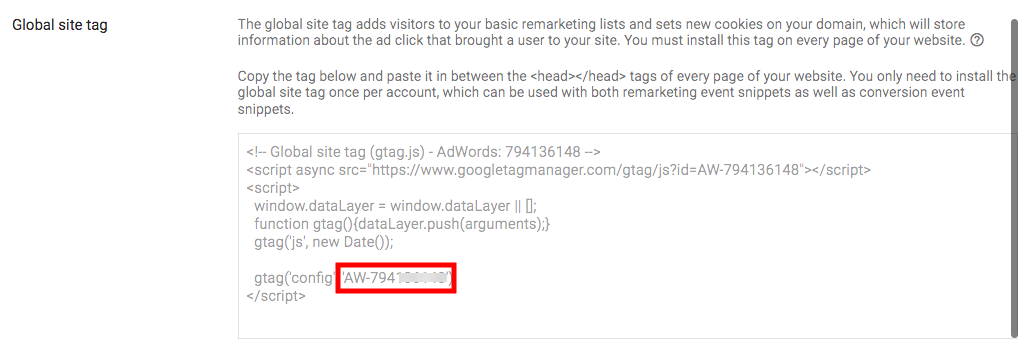
Copy ONLY the AW id (AW-1234567890):
Open PixelYourSite Pro dashboard and paste the AW-id in the dedicated field. Save the settings.
How to find an existing Google Ads Tag ID
Open your Google Ads Account and click on the TOOLS link in the top menu. Under SHARED LIBRARY click on Audience Manager and on Audience sources.
Click on Google Ads tag DETAILS and on the “Tag Setup” on the page bottom.
Copy ONLY the AW id (AW-1234567890):
Open PixelYourSite Pro dashboard and paste the AW-id in the dedicated field. Save the settings.
Now the Google Tag is implemented on your website and it will track all your users.
If you use WooCommerce or Easy Digital Downloads, Retail or Custom verticals parameters will be added to the e-commerce events, allowing you to do Dynamic Remarketing.
You can also configure Conversions by adding the code generated by Google using the Google Ads Event Snippet. You can find it when you edit any page, under PixelYourSite Head and Footer Scripts option.